 Hoala Greevy


Using the Microsoft 365 Exchange Admin Center, it's possible to configure a subset of users in a domain to use Paubox email encryption for outbound email. This would apply to customers using Microsoft 365 for their email platform and Paubox as their HIPAA compliant email solution. Here's how to do it.
Part I: Create a Group
- Login to the Microsoft 365 Exchange Admin Center using Admin-level credentials.
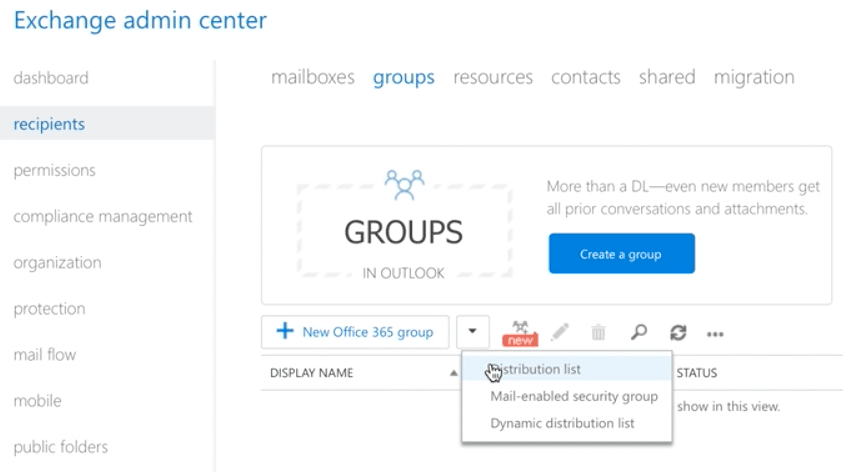
- On the left side of the navigation pane, click dashboard. On the resulting screen, click groups.
- Next, click the + New Microsoft 365 group button, then click Distribution list.
- On the resulting pop-up window, enter the following:
- routetopaubox as the Display name
- routetopaubox as the Alias
- routetopaubox as the Email address
- Leave the domain name field unchanged
- The Notes field is optional
- Scroll down a bit and click the + button below Owners
- From the resulting list of users, select any additional users that will manage the new group. By default, the user creating the group is the owner of the group.
- Next, scroll down a bit and click the + button below Members
- Select and add -> the users that will be using Paubox to send outbound encrypted email. Click OK when finished.
- Scroll a bit further down and make sure the following radio boxes are selected:
- Closed: Members can be added only by the group owners. All requests to join will be rejected automatically.
- Closed: Members can be removed only by the group owners. All requests to leave will be rejected automatically.
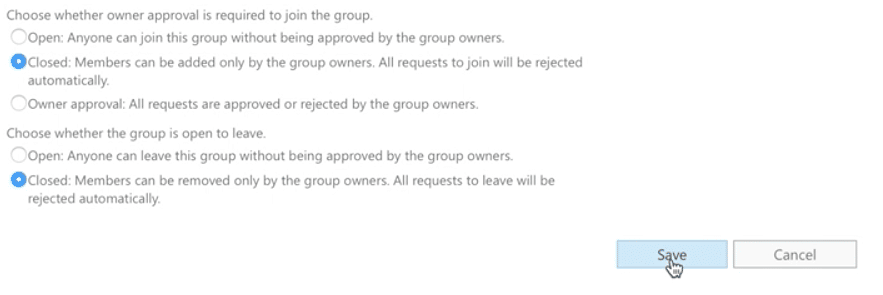
- Click Save.
Part II: Create a Connector
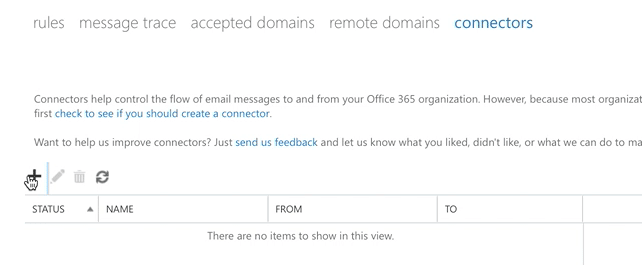
- Now we'll need to create a Connector. On the left side of the navigation pane, click mail flow then click connectors.
- Next, click the + button.
- On the resulting pop-up window, make sure From: is set to Microsoft 365 and To: is set to Partner organization. Then click Next.

- On the next screen, enter Paubox in the Name field.
- Make sure the checkbox labeled Turn it on is checked, then click Next.
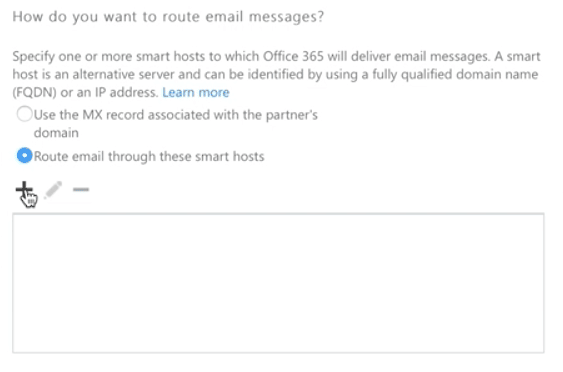
- On the next screen, select the radio box Route email through these smart hosts, then click the + button below it.
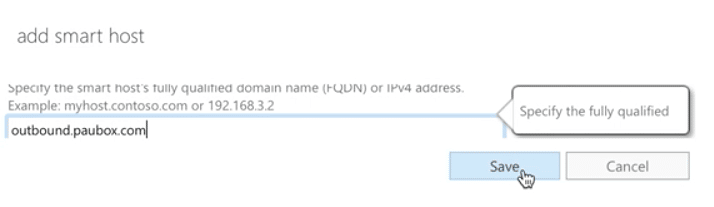
- On the resulting pop-up window, enter outbound.paubox.com as the smart host. Then click Save.
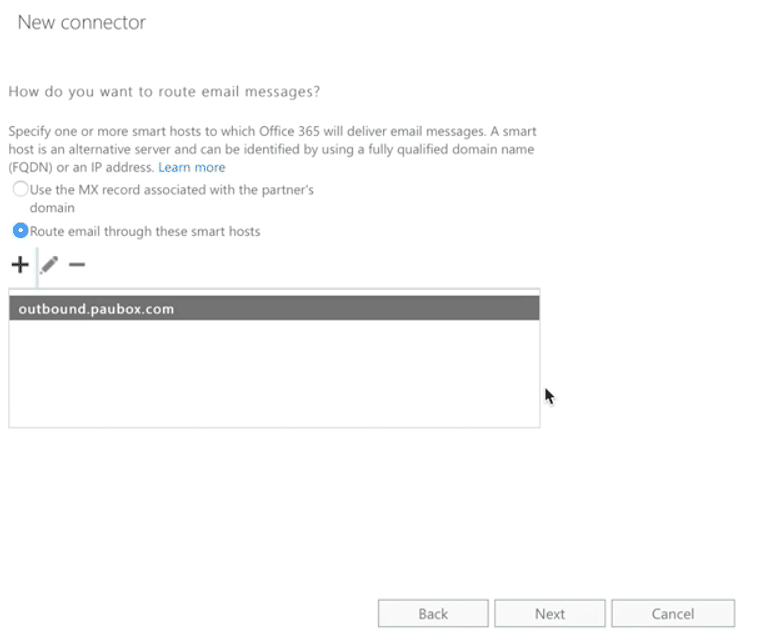
- You should now see a screen similar to the one below. Click Next to proceed.
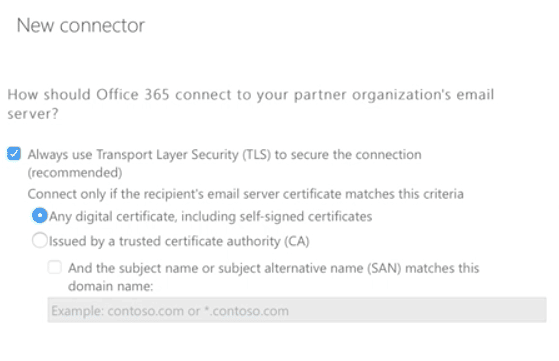
- On the next screen, make sure the Always use Transport Layer Security (TLS) to secure the connection (recommended) checkbox remains checked. Then select the radio box Any digital certificate, including self-signed certificates is selected. Then click Next.
- You'll next see a screen confirming your settings. Click Next to proceed.
- On the following screen, you'll be asked to enter an email address to validate the connector. Click the + button and then enter an email to send a test email to. Click OK to continue.
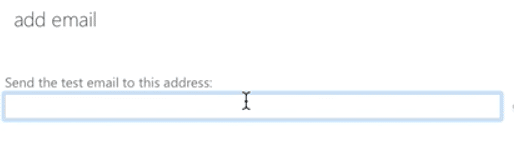
- Next, click Validate to test the connector.
- After the test email is sent, click the Close button.
- Click Save.
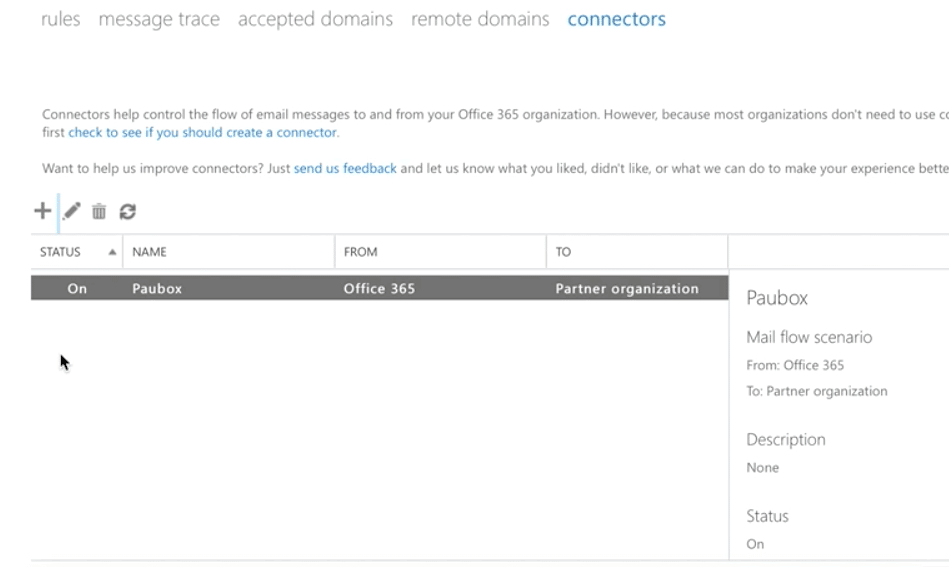
- You should see a screen similar to the one below.
Part III: Create a New Rule
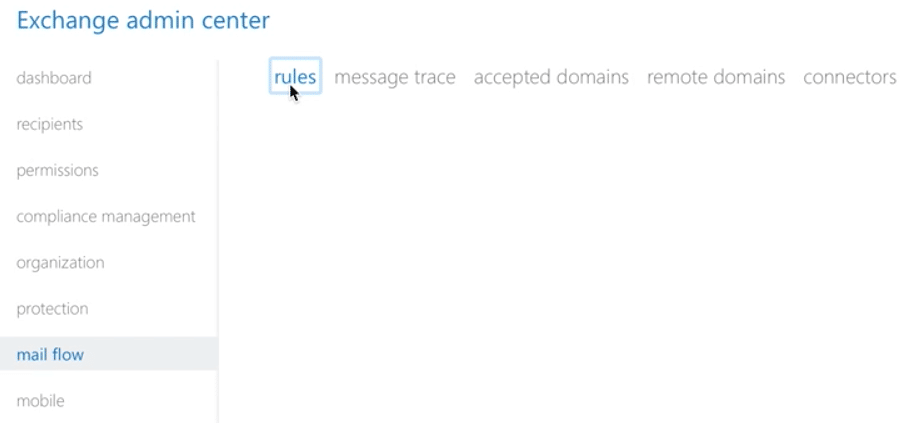
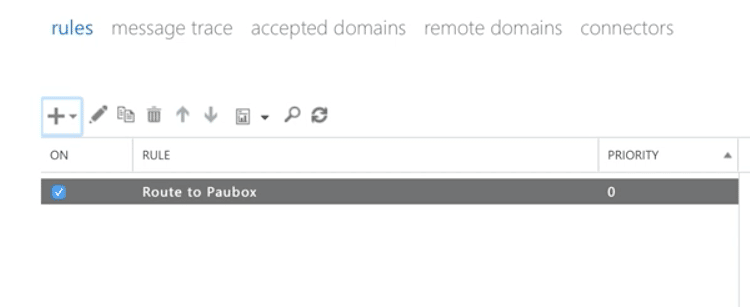
- Part III involves creating a new rule. On the left of the navigation pane, make sure mail flow is active, then click rules.
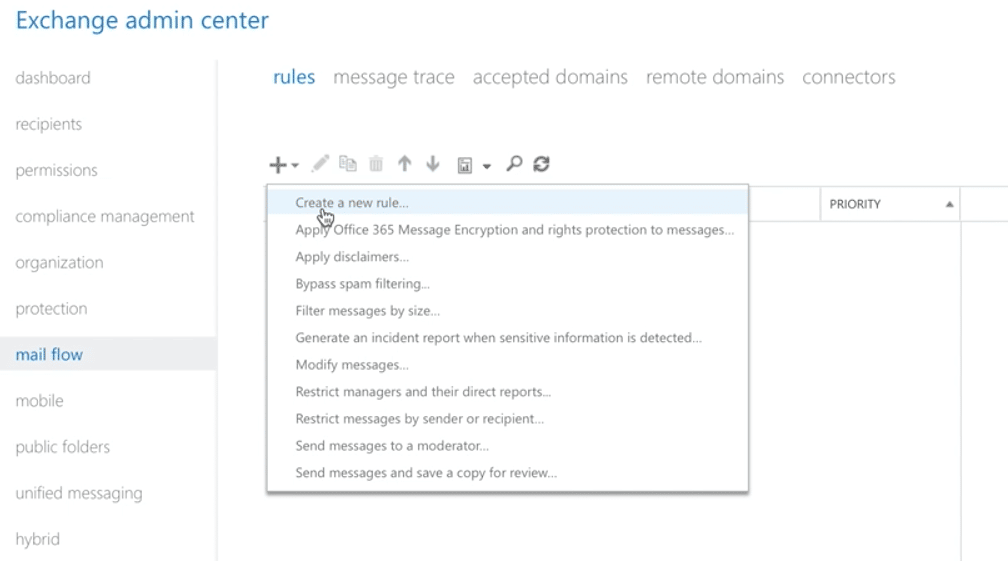
- Next, click the + button and select Create a new rule...
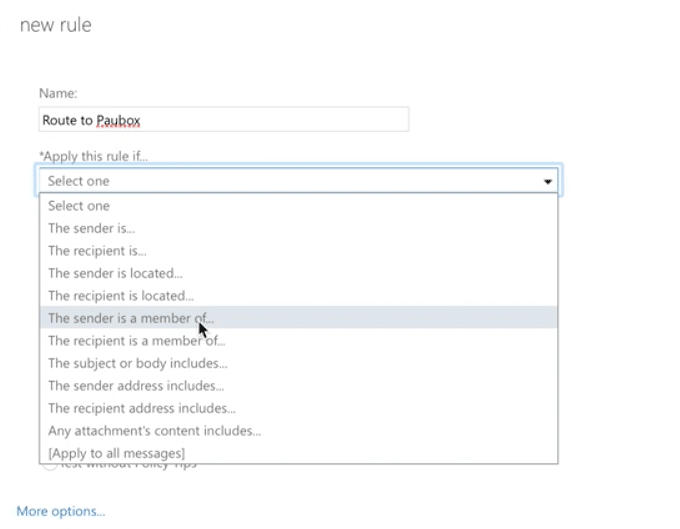
- On the resulting pop-up window, enter Route to Paubox in the Name field.
- Under the Apply this rule if... drop-down box, select The Sender is a member of...
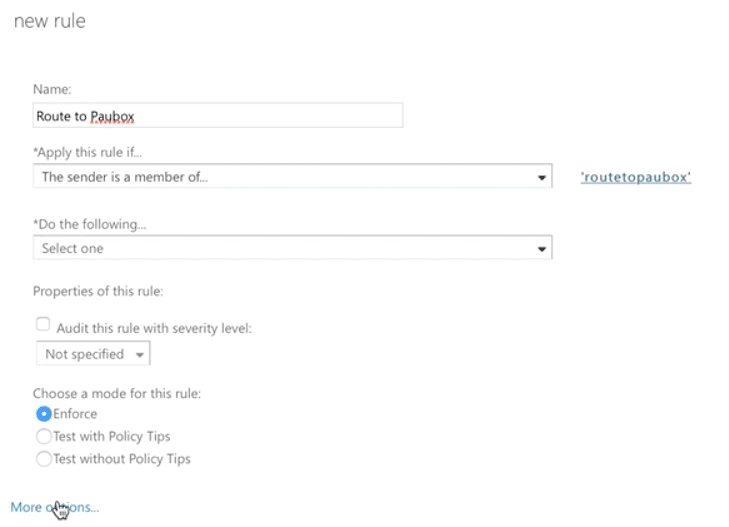
- Another pop-up window will appear. Select routetopaubox and click OK.
- You will next be taken back to the new rule screen. Click More options...
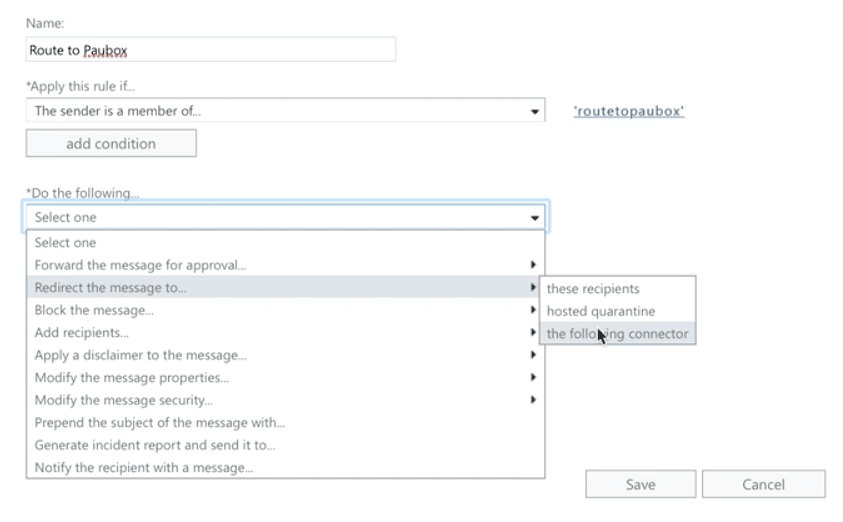
- On the next screen, click the Do the following.... drop-down box, click Redirect the message to..., then click the following connector.
- Make sure the Connector: drop-down box is set to Paubox. Then click OK.
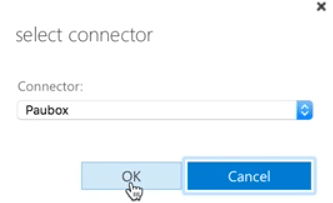
- Next, click Save.
- As a last step, make sure the new rule is set to ON.
Congratulations! You have successfully used the Microsoft 365 Exchange Admin Panel to create a list of select users within your organization that will use Paubox Email Suite as their smart host gateway for outbound, HIPAA compliant email.